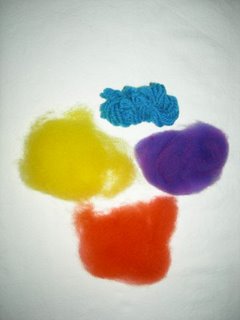
I have some fleeces in the garage that need to get on to the next phase in life, so I dyed one up for the project. Mary was gracious enough to take pictures of my samples so I could post them here. Now I have another reason to buy a digital camera....
Several people in our spinning group asked if I could post my instructions on how I dyed my samples. Because I used food color paste, I decided to write a pretty detailed account because I was not able to find this level of instruction elsewhere. There is plenty of information on how to use Sabraset, Jacquard, Cushing, and other commercial acid dyes, so I ended up with an amalgamation of those techniques along with my experiments.
Here goes:
Immersion Dyeing Techniques
2 gallons water in stainless steel stockpot
2 cups white vinegar
8 oz. fiber (yarn or locks)
Dishwashing liquid
Kitchen thermometer (must show up to 200 degrees)
Food color gel paste
Colors used for this project are below:
Yellow – Wilton brand, Lemon Yellow, half container.
Violet – Cake Craft brand, Super Violet, 1 container.
Blue – Cake Craft brand, Royal Blue, 1 container.
Darker blue – Cake Craft brand, Super Navy Blue,1 container.
Orange – Cake Craft brand, October Orange, 1 container.
Overview of techniques
Soak fiber.
Make up dye solution.
Fill dyepot with water, vinegar and dye solution.
Add wetted fiber and bring up to temperature.
Let cool, rinse thoroughly, and dry.
Detailed techiques
I followed these generally accepted fiber preparation steps: Add a few drops of dishwashing liquid to a large container (bucket, bowl, etc.) of tepid water. Put the fiber into the water and make sure there’s enough water to cover well. Soak the fiber for at least an hour.
While the fiber soaked, I made up the dye solution. I emptied the contents of the food coloring paste into a mason jar and mixed with the hottest water from my tap until completely dissolved. To ensure the dye was completely incorporated, I let it stand until the fiber was ready.
When the fiber had been completely wetted (1-2 hours), I filled the stockpot with 2 gallons of water the same temperature as the soaking water. I added the white vinegar and the dye solution, stirring well with a plastic chopstick. In later batches with very dark colors, I partially filled the stockpot, added the dye solution, and then rinsed out the jar by repeatedly filling with water and pouring it into the stockpot.
I lifted the wet fiber out of its water and let it drain. Then I placed it in the stockpot and gently pushed it around until all had been submerged.
Note that adding more than 8 oz. of fiber risks that the fiber will not dye evenly. I found that this was an advantage when dyeing locks because the color has more depth when combing them out later. Violet and blue both struck unevenly. The other colors were fine. When I used blue and violet with a test batch using yarn, I had no problems with uneven color. The amount of fiber was less than the amount of locks I used in later batches however, so I assume this was the cause.
I slowly brought the temperature up to a near boil, occasionally stirring the fiber to make sure the water had the same temperature at the top of the pot as at the bottom. I have a gas stove and began with the dial set at medium until the temperature reached about 150 degrees. Then I moved the dial to medium high until the temperature was 175 degrees. At that point, I set the dial to almost the highest setting and let the temperature reach 200 degrees.
I noticed that the lighter colors struck significantly between 190 and 195 degrees. The darker colors needed to go to 200 before being taken up into the fiber. The fiber seemed to swell the last ten degrees of heating, so this is an indicator the end of the dyeing is near. I also found that the temperature in the pot rises quickly between 195 and 200 degrees, so you much watch the fiber closely.
At that point, I turned off the heat and let the pot cool. For the first few batches, I let the pot cool to room temperature on the stove, which took at least 6 hours. Being the impatient person I am, in later batches I let the pot cool for about 2 hours inside, and then put the pot outside to cool. The outdoor temperature was in the 50s and after I checked 2 hours later, it was cooled down enough to rinse.
I carefully lifted the fiber out of the pot and placed it in a bucket with clear water of the same temperature. After gently pushing the fiber around, I let it soak for about 10 minutes and then repeated the process until it was nearly clear. I found it took 4-6 rinse cycles to get a clear rinse; darker colors took more cycles. For some batches, I put some Eucalan into the final rinse cycle. For other batches, I put the Eucalan in earlier rinses, but there wasn’t any noticeable difference in results.
To dry the fiber, I gently squeezed out as much water as I could. I spread newspapers out on the floor in front of a heating vent in my kitchen, put a sweater drying frame over it, and lay the locks/yarn on top of that, turning occasionally until dry.
Again, my impatience led to a new discovery. I let the fiber dry until barely damp and then put it directly on the newspaper. It dried much more quickly because it was directly in front of the vent instead of slightly above it. In the future, I will experiment with putting down a towel in front of the vent and laying the fiber on it, bypassing the sweater frame entirely. The cotton toweling should help wick away the moisture from the fiber, but the large surface area should allow for speedy evaporation.

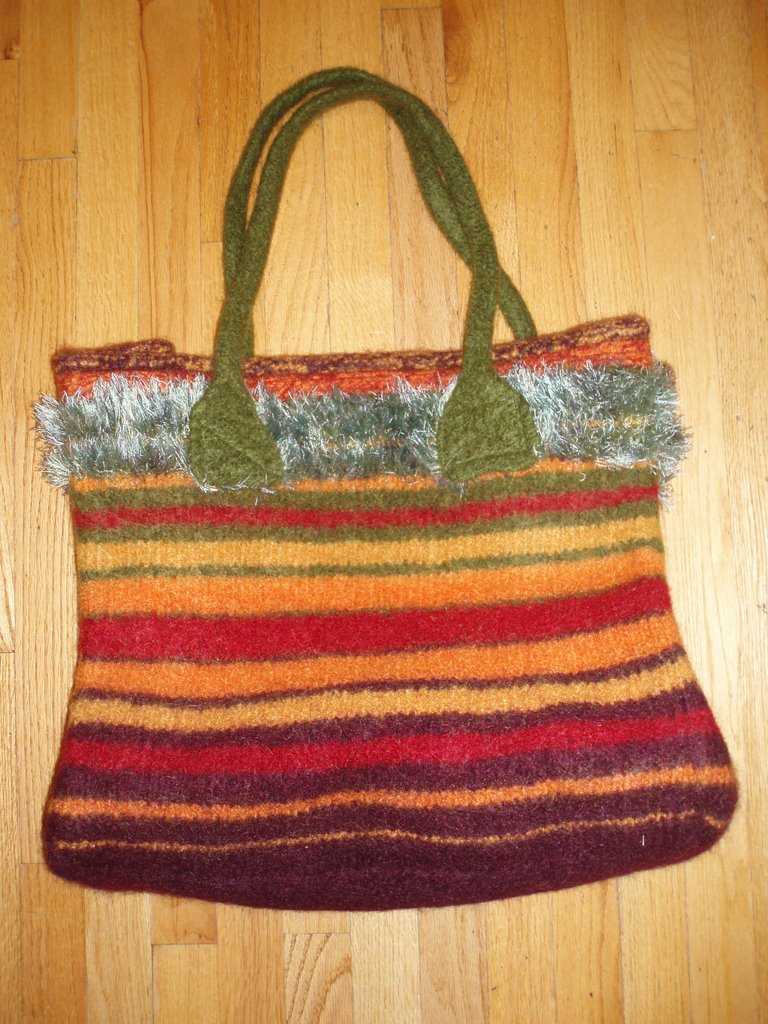

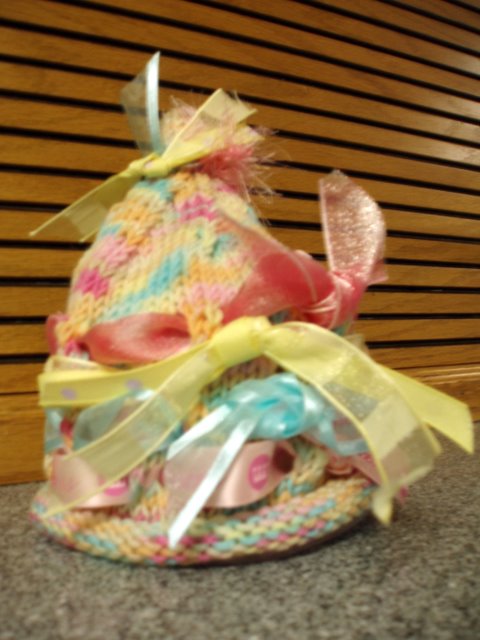 The next pictures are of a felted bag that I finished for a friend of mine. Denise died last June of pancreatic cancer. She had started this bag for her daughterinlaw. Jen has it now and I hope it will make many trips to the library with her.